

Where To Purchase?
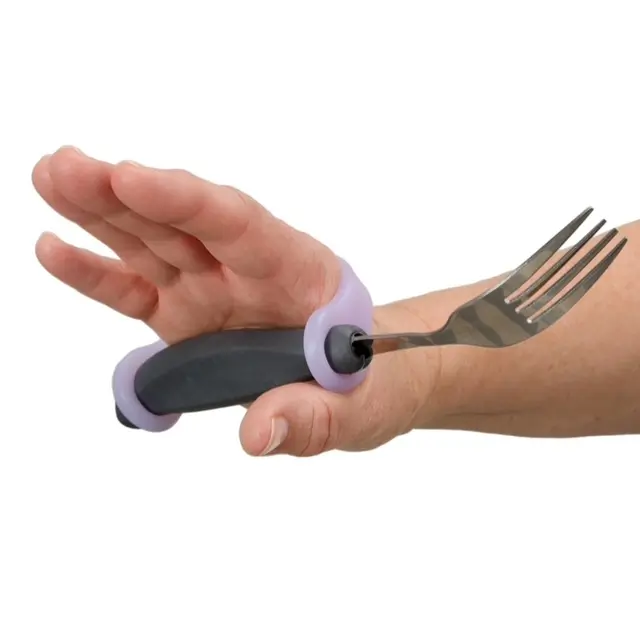
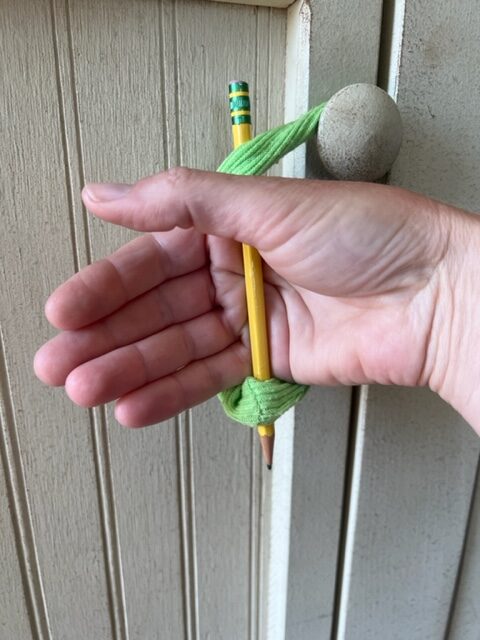
Need a sturdy and effective universal cuff? Check out the EazyHold Grip Straps. Click the button below for more information.


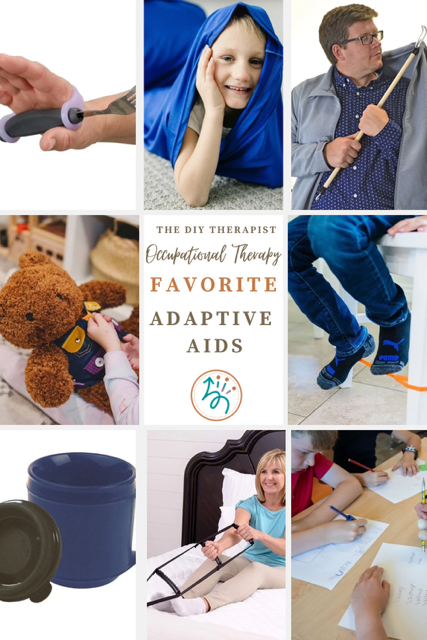
Looking For More Daily Living Aids?
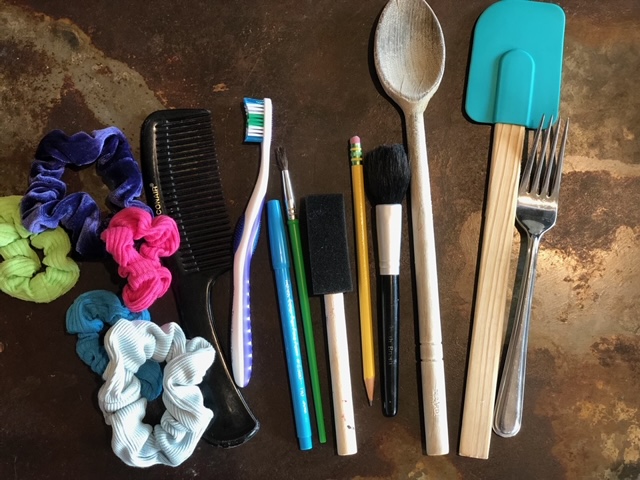
Click the link below to see my full list of favorite daily living aids that help to enhance independence in daily tasks.
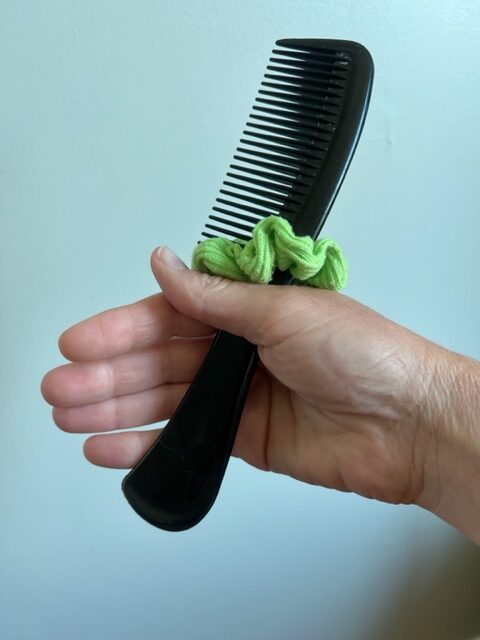

Need The Ready-Made Professional Version?
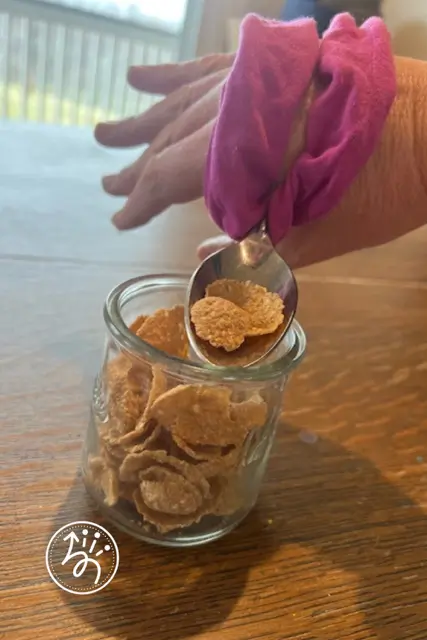
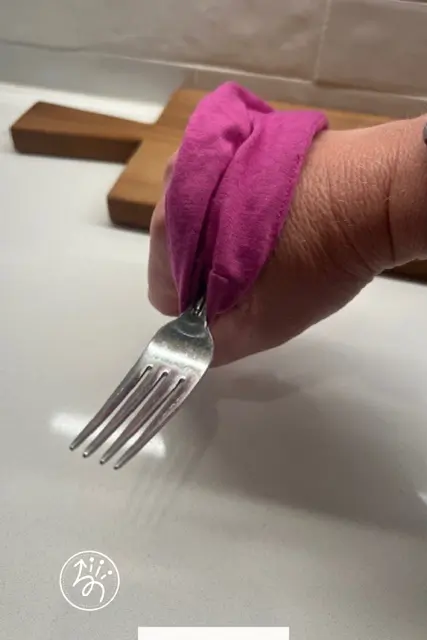
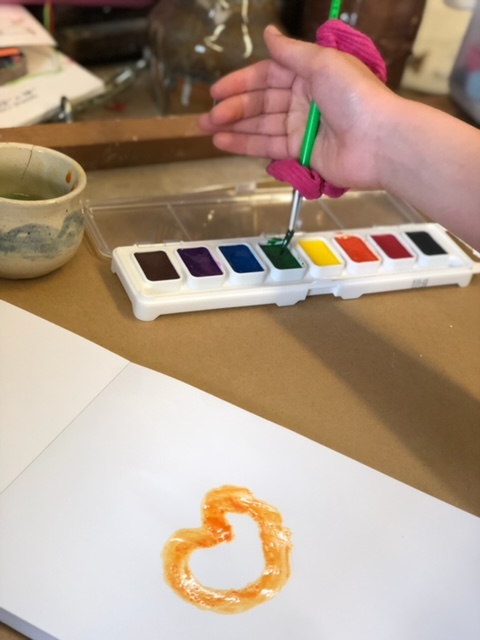
Check out the EazyHold Grip Straps. They're fantastic and help increase independence in grasp everyday utensils.
Ready To SHOP?
Check out my curated list of favorite daily living aids. Click the link below for the full list.