


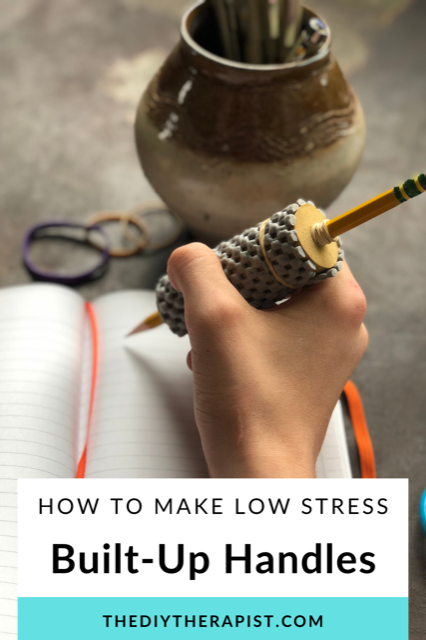
Need Daily Living Aids?
No time for DIY? And need the professional version? Check out my list of favorite adaptive daily living aids. Click the button below to see the full list.

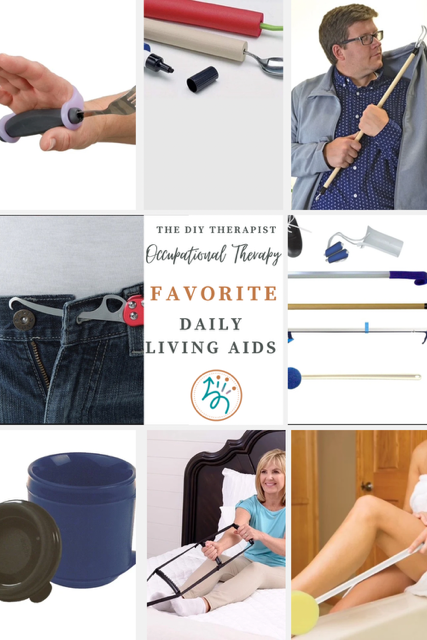
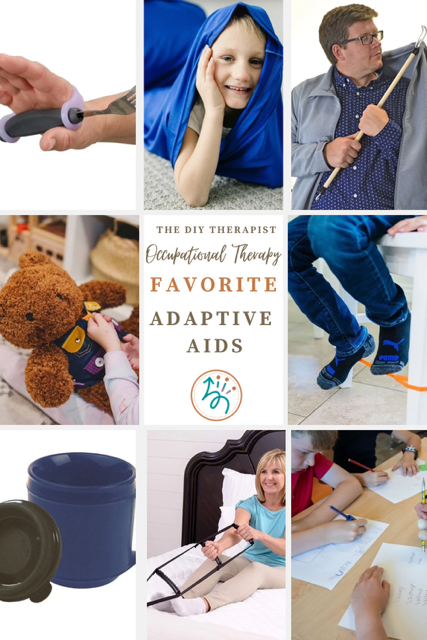
Looking For More Daily Living Aids?
Check out my list of favorite daily living aids from button hooks to bed ladders to help increase independence. Click the button below to see the full list.
Thanks for your blog, nice to read. Do not stop.
Thank you, Mark, for your kind words and encouragement. I’m glad you enjoyed it.
Thanks for the great info. I was searching for a DIY low-cost solution for my 88 y.o. uncle with Rheumatoid Arthritis to help him remain independent. Love your ideas. Keep ’em coming!
Thank you for reaching out! I am glad to hear the tutorial was helpful. Let me know if you have any questions.