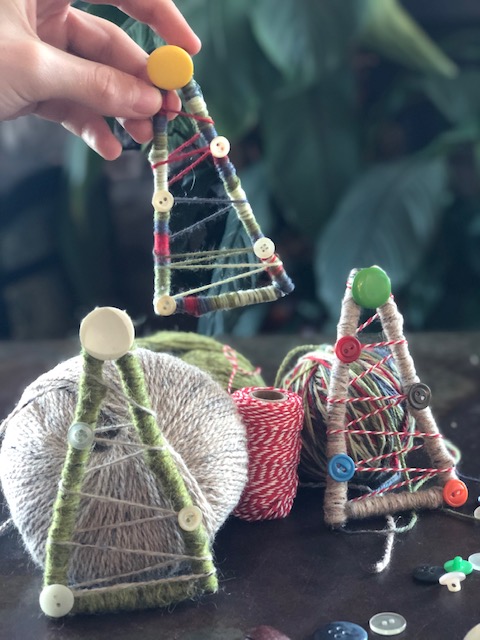
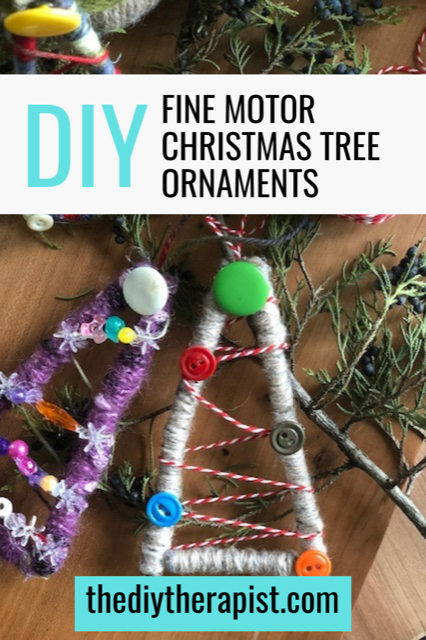
Adorable and inexpensive, these fine motor Christmas tree ornaments are a great DIY holiday, fine motor craft for the whole family. Created with just a few items, this occupational therapy-based fine motor project is great for kids and adults alike.
This content is not intended as a substitute for medical advice, diagnosis, or treatment. Always seek the advice of your physician, therapist, or other medical professional regarding a medical condition or treatment. This content is for informational purposes only.
This post may contain affiliate links. As an affiliate, I may earn a small commission at no extra cost to you on qualifying purchases. Thank you for your support. See our full disclosure.
One of my favorite traditions during the holidays is making handmade ornaments with my kids. We do it every year. Thanks to us, the grandparents have an assortment of handmade treasures hanging from their trees. And, of course, so do we. I personally love all the handmade ornaments over the store bought varieties. There is just something special about anything handcrafted.
About This Fine Motor Christmas Tree Ornament Project
The fine motor Christmas ornaments we are making today only need a few household items. The items you will need include a hot glue gun, pruning shears, yarn, scissors, and decorative beads or buttons. We collected a few fallen, but strong branches to use as the frame for the Christmas trees before starting this project. I used my pruning shears to trim any side branches. Then continued cutting the branches to the length I needed. We’ll talk more on branch sizing in the instructions section below.
Alternatively, if you do not have yarn at home, you could also cut strips of fabric from an old t-shirt, jeans, or even a pillow case or old sheet. I love up-cycling and re-purposing household items. Wrap the branches the same way in the instructions as you would yarn.
My kids and I had a lot of fun working on these ornaments together, and they have completed several more Christmas ornaments on their own since then. Before we get started on this cute fine motor holiday project, let’s talk briefly about some of the fine motor skills involved and how to get the most out of this project. Then we will discuss ways to spread a little cheer with these handcrafted ornaments.
These homemade Christmas tree ornaments are a great way to work on further developing fine motor skills.
Occupational Therapy Fine Motor Skill Focus
As an occupational therapist, I love fine motor projects especially ones that work on a variety of skills. These darling little fine motor Christmas tree ornaments focus on skills including the pincer grasp and bilateral coordination skills. Furthermore, I have listed a couple additional ways you can add working on in-hand manipulation skills as well. Here is a more in-depth look at each of these skills used in this project.
Fine Motor and Visual Motor Skills
Fine motor skills are the coordination of the small muscles in the hands to perform tasks such as writing, buttoning, preparing meals, and turning pages of a book. Of course, fine motor skills are used throughout this project.
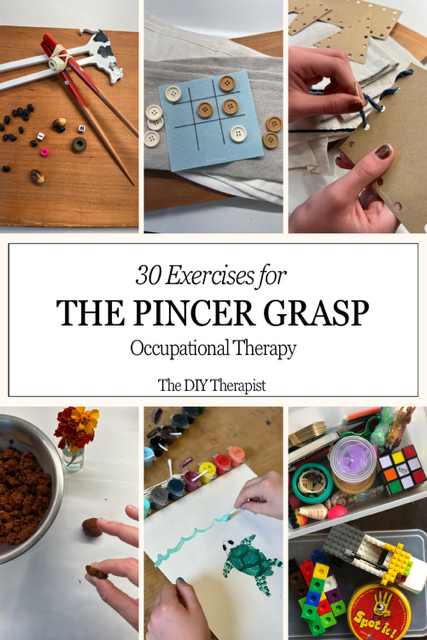
Pincer Grasp
Pincer graspis the ability to use the tips of the index finger and thumb to pick up small items such as beads. Furthermore, as this skill develops, it can help children maintain a mature pencil grasp. During this fine motor project, encourage children who are working on the pincer grasp to pick up the beads and buttons using the tips of the index and thumb together.
Bilateral Coordination Skills
Bilateral coordination skills are the ability to use both sides of the body together, or with alternating movements, during an activity. An important life skill, bilateral coordination is needed for completing tasks and activities throughout the day. For example, bilateral coordination is needed for food prep (ie: peeling potatoes and mixing a bowl of dough), buttoning, sports, and school-based skills such as scissoring. This project, in particular, focuses on bilateral coordination, using the two sides of the body doing different things. For instance, one hand holds the branch while the other hand focuses on wrapping a stick with yarn in a circular motion around the branch.
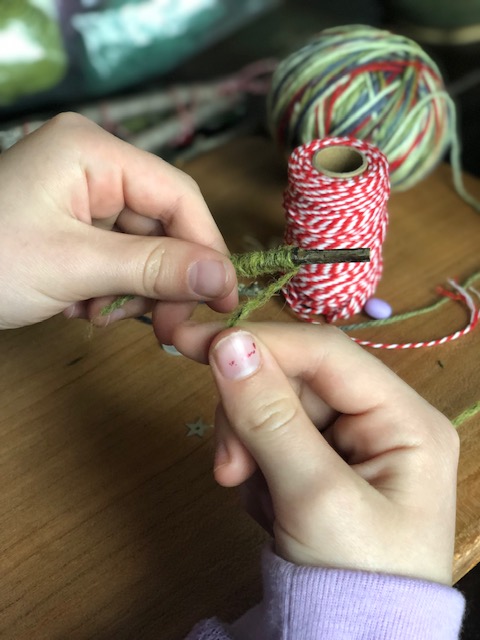
In-hand manipulation skills: Rotation. Turn or rotate the stick between the pads of the index and thumb in order to wrap it with yarn.
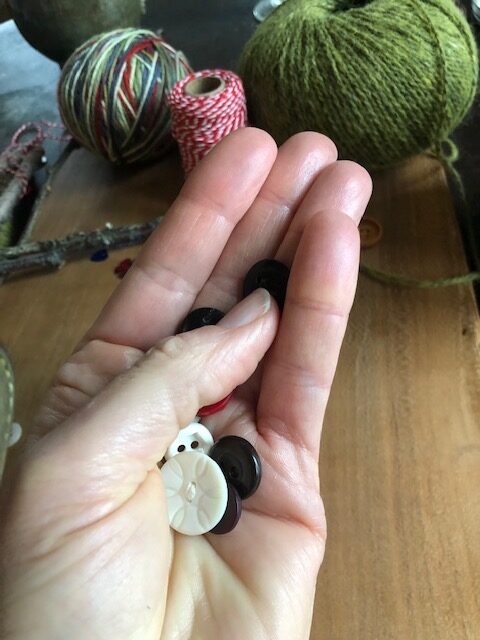
In-hand manipulation skills: Translation. Move buttons from the palm of the hand towards the fingertips.
In-hand manipulation skills: Translation.
Continue moving button from the palm of the hand to the fingertips.
Additional Fine Motor Skills
Here are a couple additional ways to work on more fine motor skills during this project:
In-Hand Manipulation Skills: Rotation and Translation
An alternative to wrapping the yarn as mentioned just above, you can also work on the in-hand manipulation skill of rotation. Rotation uses the pads of the index finger and thumb to turn and rotate an object. Therefore, for this project, holding the stick with one hand while rotating the stick between the thumb and index to wind the yarn around the branch is the in-hand manipulation skill of rotation (see picture above).
The in-hand manipulation skill of translation is the ability to move small objects from the palm of the hand to the fingertips, or vice versa. For example, getting change ready from the palm of your hand to place into a gumball machine is the in-hand manipulation skill of translation. You can work on this skill by placing a few buttons or beads in the palm of your hand and move one piece at a time to your fingertips (see picture above).
These in-hand manipulation skills are a great way this project can be used to work on additional fine motor skills.
DIY Ornaments: Fine Motor Christmas Tree Ornaments
Special Precautions Before Starting This Project
This project is specifically for children over the age of three due to choking hazards, or for anyone who may chew on non-edible items. Also, use caution when trimming branches and cutting them to size with pruning shears- of course, pruning shears are sharp. Have an adult cut and trim all branches. Additionally, always use caution with a hot glue gun- watch out for skin burns, and hot glue guns are a potential fire hazard if left plugged in too long.
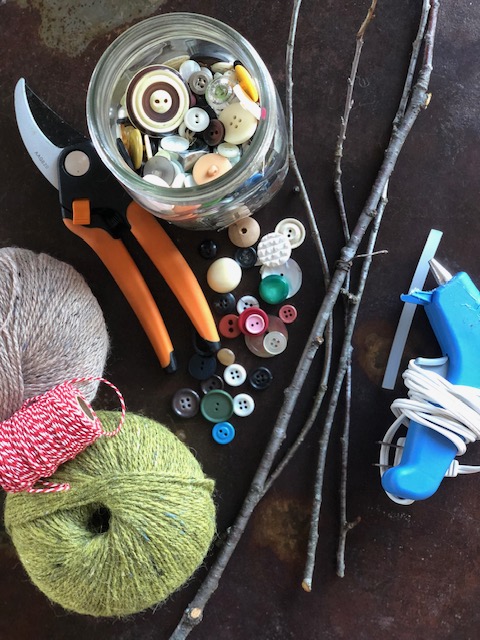
Materials Needed: Yarn, buttons/beads/decorative sequins, pruning shears, scissors, branches, and a hot glue gun with glue sticks.
Materials Needed
A few thin branches depending on how many ornaments you plan to make.
Pruning shears to cut branches
Yarn or decorative twine of various colors (at least 2 contrasting colors)
Buttons, decorative sequins, or beads for decorating
Hot glue gun with glue sticks
Scissors
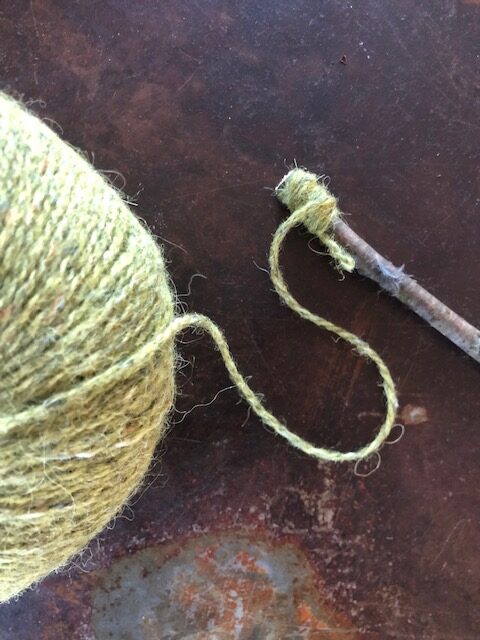
Wrap stick using yarn making sure to secure the yarn end. Start with approximately 1 inch of yarn at end of stick followed by wrapping yarn over the loose end.
Instructions
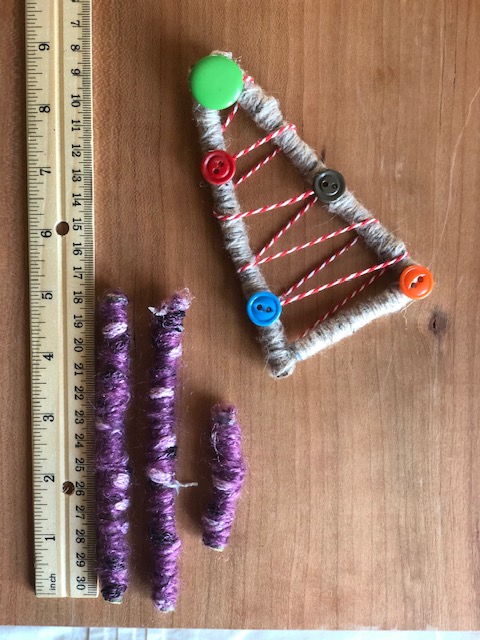
Collect a few thin branches depending on how many ornaments you plan to make. My branches were approximately ¼” thick. Have an adult trim the side branches. Cut the main branch you will be using into three pieces for the frame of the Christmas tree. I made my Christmas tree ornaments using two 5 inch sticks to form the two long sides of the triangle and one 2 ¼ inch long stick for the bottom.
Starting with one branch, wrap the yarn around the branch making sure to secure the end of yarn (see picture above). Alternatively place a dab of hot glue to secure the end of yarn.
After wrapping the entire branch with yarn, cut the yarn, and secure the end of yarn with a dot of hot glue.
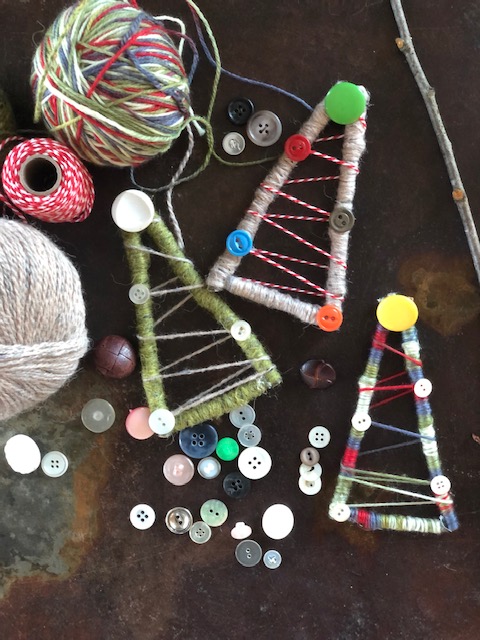
Repeat steps 2 and 3 for the remaining 2 sides of the Christmas tree (see picture below).
Hot glue the 3 pieces together to form a triangle. Secure as needed with additional hot glue.
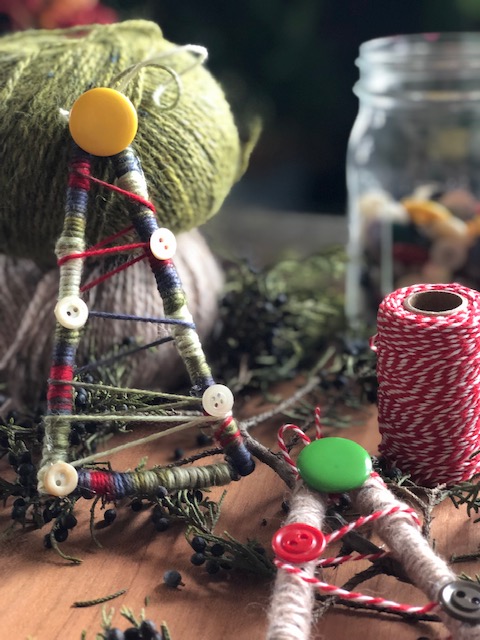
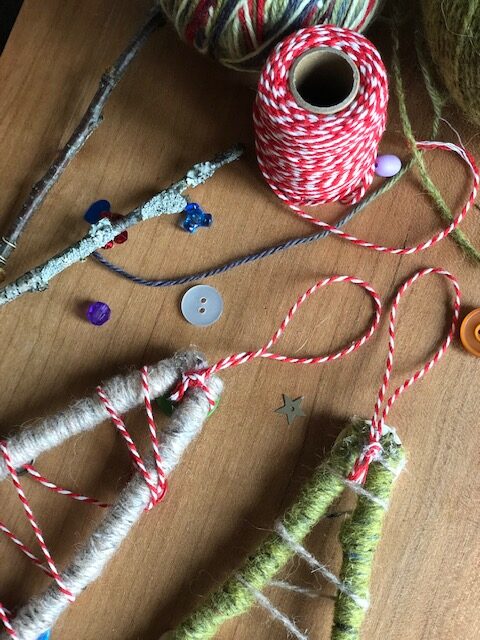
On the back side of the top of the Christmas tree, hot glue the end of a contrasting yarn or twine. Gently wrap the yarn or twine 4 or 5 times leaving gaps as seen in the pictures. Cut and secure the loose end on the back side of bottom corner of the ornament with hot glue.
Now it’s time to decorate. Plan out and decorate with buttons, beads and sequins on the sides of the tree. Place a larger button or decorative object at the top for the star. Once ready, hot glue in place.
Lastly for the ornament hook, cut a 6-7 inch piece of yarn. Fold in half and tie a quick knot at the end. Hot glue it in place at the top of the Christmas tree on the back side (see picture below).
Cut branches to size followed by wrapping each branch with yarn securing both ends so that it does not come unraveled.
Hot glue the hook to the backside of the top of the Christmas tree making sure to hide the knot and any loose ends.