

No Time For DIY?
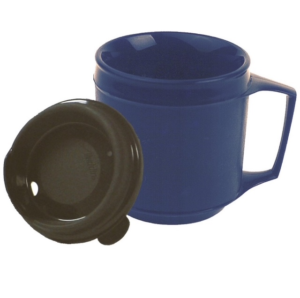
Prefer the ready-made professional version? Check out this insulated weighted cup from The Wright Stuff, a physical therapist owned online retail store.


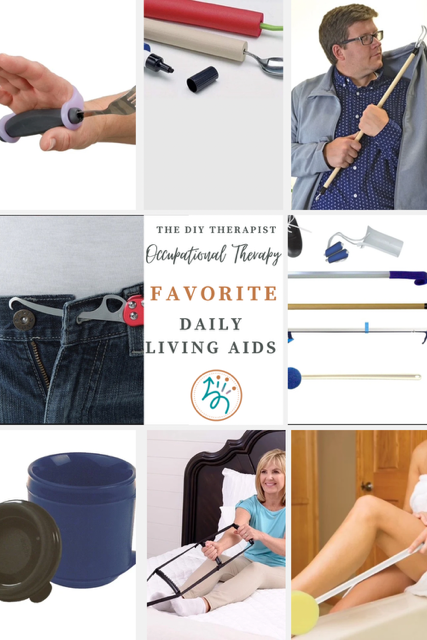
Looking For More Adaptive Daily Living Aids?
Check out my curated list of favorite daily living aids recommended by occupational therapy practitioners. Click the button below to see the full list.